[
1 |
2 |
3 |
4A |
4B |
5A |
5B |
6 ]
[ Top // Back to Main ]
How to boost the bulletproof Cheetah in 6 (not particularly easy) steps
- The detailed in-depth instructions by Saboteur
If you're like me and have already finished the game, you're probably severely screwed if you want to just ride around
the city and maybe do extra missions or look for hidden packages. There will be "shit locations" all over, with
Saint Mark's in Portland being one of the worst, where you can expect to be killed about the time you can spot
the location text at the bottom of your screen read "Saint Mark's". If you're lucky enough to have the BP Patriot,
you're OK (if you don't mind the lack of speed). But me, I lost mine when I got myself an FBI Car. It was a sacrifice I
had to make, for the emergency vehicle crane mission. But even if you did have it, you should still be interested in a
similarly bulletproof Cheetah! This is sort of difficult because you can't just carjack them, they're locked.
There are two ways to do this (the easy way and the hard way), and they both have their pros and cons. (And you can
probably think of a dozen other ways, but this is just to get you started, as these methods are tested.) The first one is
one I came up with (that is potentially MUCH more feasible than the other one), and the other is the one I've read about
on the net. The description was a bit vague for my taste though, and like I said, there are alternatives as well.
So I documented some.
There is a prerequisite. You will need some kind of big truck for this. (Unless you think you can flip speeding cheetah with
anything less!) A flatbed should do, but I prefer a Barracks OL (mainly because I have finished the emergency vehicle
crane mission, and you should too. It makes life a lot easier for you all around). Durability of the vehicle is also important.
Don't use a Rhino for this, it'll destroy the Cheetahs.
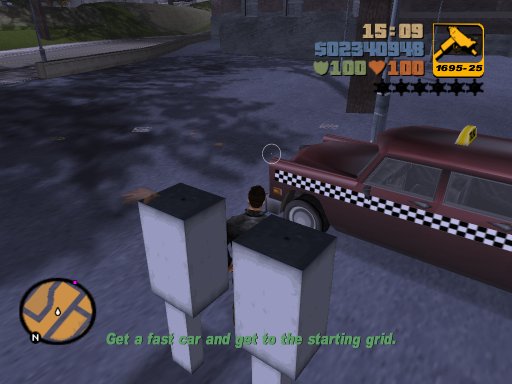
- Step 1:
-
Start the mission. You won't be in a hurry yet. Instead of going to the starting grid, run off to Portland Harbor.
[
1 |
2 |
3 |
4A |
4B |
5A |
5B |
6 ]
[ Top // Back to Main ]
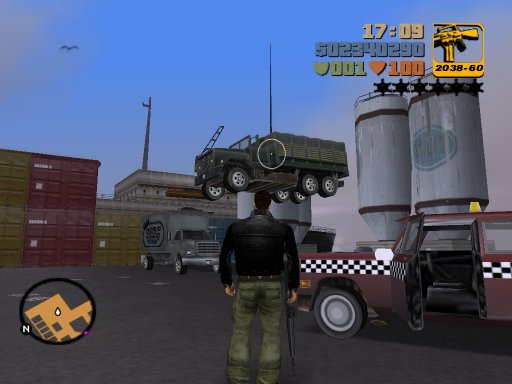
- Step 2:
-
Pick up a Barracks OL. Take it to the starting grid...
[
1 |
2 |
3 |
4A |
4B |
5A |
5B |
6 ]
[ Top // Back to Main ]
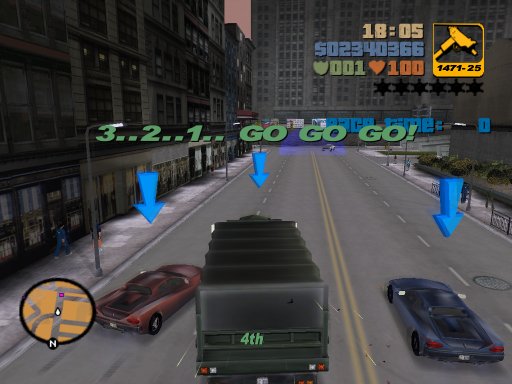
- Step 3:
-
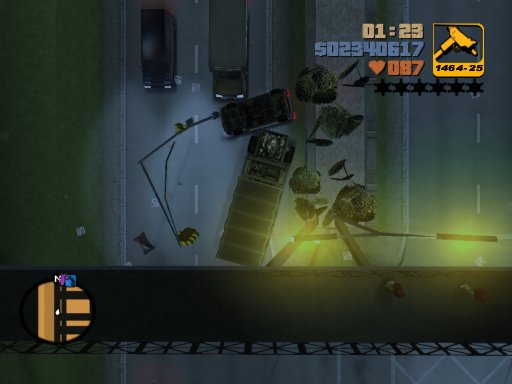
...but don't take your designated position. Instead, ram into another cheetah. There are two reasons why you should do
this. Number one is that the triads will try to take you down if you sit still around these parts of town. Avoid, avoid, avoid.
The second is that this is your best chance at flipping one of the cheetahs over. Because that's what this is all about.
If you flip the cheetah now, continue to Step 4 A. If you want a more safe approach - or fail to flip the cheetah - take the
B route.
[
1 |
2 |
3 |
4A |
4B |
5A |
5B |
6 ]
[ Top // Back to Main ]
- Step 4 A:
-
At this point it's important that whatever you do, don't lose sight of the cheetah! As long as the race is on, the
cheetah will vanish as soon as you turn your back on it. Once the race ends, however, it will vanish at the same
probability as any other car that's upside down. (Meaning that it'll vanish pretty quickly, but not that quickly.
You know how GTA3 is with these things. Stupid PS2.)
[
1 |
2 |
3 |
4A |
4B |
5A |
5B |
6 ]
[ Top // Back to Main ]
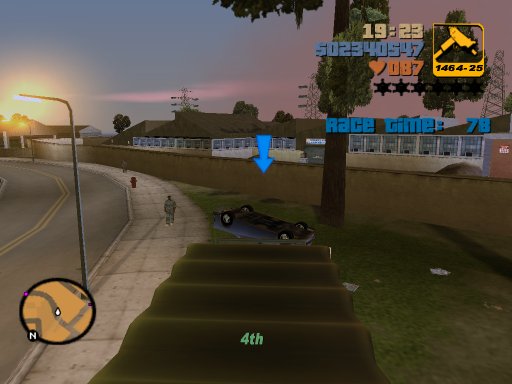
- Step 5 A:
-
This is the part that really blows about this A route, and is the reason I really don't prefer it over my own B route.
Wait for the race to end without losing sight of the cheetah. (You'll have to be wary of any triads trying to kill you.
Try to push the cheetah into Trenton as seen in the picture of step 4A to make it a bit more feasible.)
When the race ends, the driver of the cheetah will get out. Now you have to get the cheetah to your hideout, and
this is where it gets nasty. You will have NO chance of taking it through anywhere NEAR Saint Mark's because of the
Mafia. I didn't even get past the hospital when they blew my Barracks OL to smithereens. And if you try taking it
through Triad territory, you're up against the same issue. If your Barracks OL isn't in glorious condition, you can
expect to have trouble. Since you won't be able to keep a high speed, they will probably carjack you and ruin your
day. But the goal is, nonetheless, to get the cheetah to your hideout. I think going through Callahan Point
is your best bet here, if you can manage it safely. The triads will still be shooting at you even if you try to take distance
and maneuver through oncoming traffic (which poses a problem of its own as demonstrated in the image). If you're
using anything less rigid than the Barracks OL, you'll probably notice it'll blow up on you on the way. (Personally, I
used one and it still blew up on me.) It's a long way to the Red Light District from the starting grid, with folks shooting
at you, so make sure you stay alive. You may find the cheetah to be easier to maneuver if it's flipped, but at this point
it's not required. Jump to step 6 if you survived all this... (You can, with some practise. I've used this method myself
successfully, but I certainly didn't come out unscathed.)
[
1 |
2 |
3 |
4A |
4B |
5A |
5B |
6 ]
[ Top // Back to Main ]
- Step 4 B:
-
If you failed to flip the cheetah but still want to try the A route, quickly drive through the first checkpoint and
once in Trenton, take a sharp right turn as soon as you can. You'll be able to intercept the speeding cheetahs once more on the next
crossroads. If you manage to flip one there, go on to Step 4 A for instructions. If not, or if you're not interested in
trying, read on.
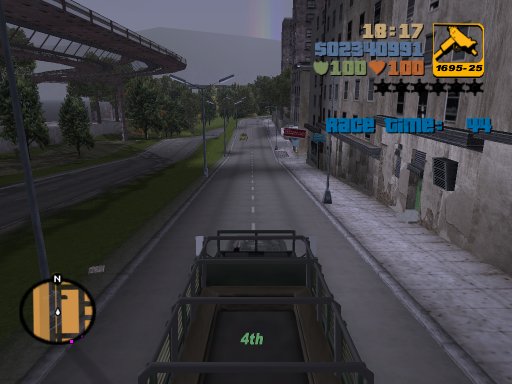
Quickly turn back and make your way to your hideout as fast as you can. You MUST be in position before
approximately 80 seconds into the race. Stop a short ways into the uphill near your hideout, facing north.
(Take a look at the image for reference.) At somewhere around 80-120 seconds into the race, the cheetahs will
come smashing right on top of you, but you have to focus hard to actually flip one at this point, as they'll be a
lot quicker with their turns than you with your Barracks OL. If you miss the first one, don't try to chase it,
you'll have two more chances. If you do miss all of them now, you have no choice but to give up and try again.
[
1 |
2 |
3 |
4A |
4B |
5A |
5B |
6 ]
[ Top // Back to Main ]
- Step 5 B:
-
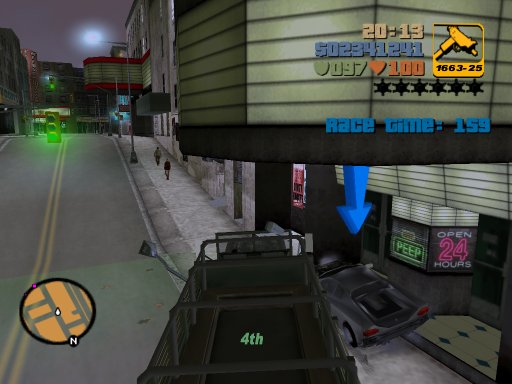
Once you flipped the cheetah, be absolutely sure you don't lose sight of it for a second! Just keep staring at it
until the race ends. Once the mission ends, the driver will come out. Now as you'll notice, you'll be right in front of
your hideout, which is VERY handy! Go on to step 6.
Notice that in the image here, I really screwed up. If you miss the cheetahs and have to chase them to lock them
down, it'll be harder to flip them. (If you don't flip them, the driver won't come out at the end of the race).
Additionally, if you stray into this area where the shot was taken, you'll have the Diablos all over your hairy butt.
Not good. It kind of ruins the whole idea of this B route.
[
1 |
2 |
3 |
4A |
4B |
5A |
5B |
6 ]
[ Top // Back to Main ]
- Step 6:
-
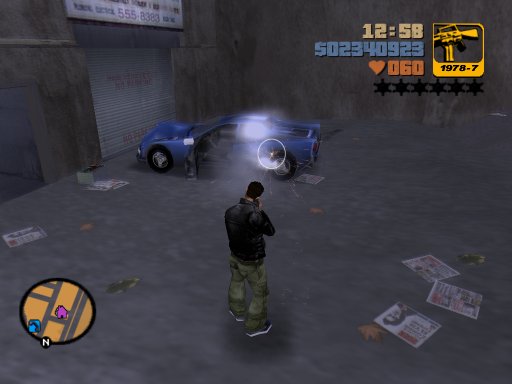
Once at the hideout, flip the cheetah back and push it into your garage. (If you had to change vehicles in the
middle of the way, go for a Rumpo or something, as it's easier to flip the car with a car that has mass.) Save
your game and the cheetah will be unlocked, and still BP! Now go have a driveby shooting at Saint Mark's...
[
1 |
2 |
3 |
4A |
4B |
5A |
5B |
6 ]
[ Top // Back to Main ]
Courtesy of Saboteur
Copyright © 2002 Saboteur (Marko Lappeteläinen)